
When it comes to light fixture installation in Miami, there’s a certain vibe that needs to be captured. The vibrant energy of this city deserves lighting that not only illuminates but also enhances the aesthetic appeal of homes and businesses. Whether you’re looking to brighten up your living room with a chic chandelier or need practical lighting for your kitchen, understanding the intricacies of installation is crucial. Let’s dive into the world of light fixtures and see how you can make the best choice for your space!
Understanding Your Lighting Needs
Before jumping into the installation process, it’s important to assess your lighting needs. Think about the purpose of the room and how you want to utilize the space. Do you want ambient lighting, task lighting, or accent lighting? Each type serves a different purpose:
- Ambient lighting: Provides overall illumination.
- Task lighting: Focused light for specific activities like reading or cooking.
- Accent lighting: Highlights architectural features or artwork.
Once you have determined what kind of lighting you need, it’s time to consider the style of the fixture. Miami is known for its unique flair, so don’t hesitate to choose fixtures that reflect the local culture and your personal style!
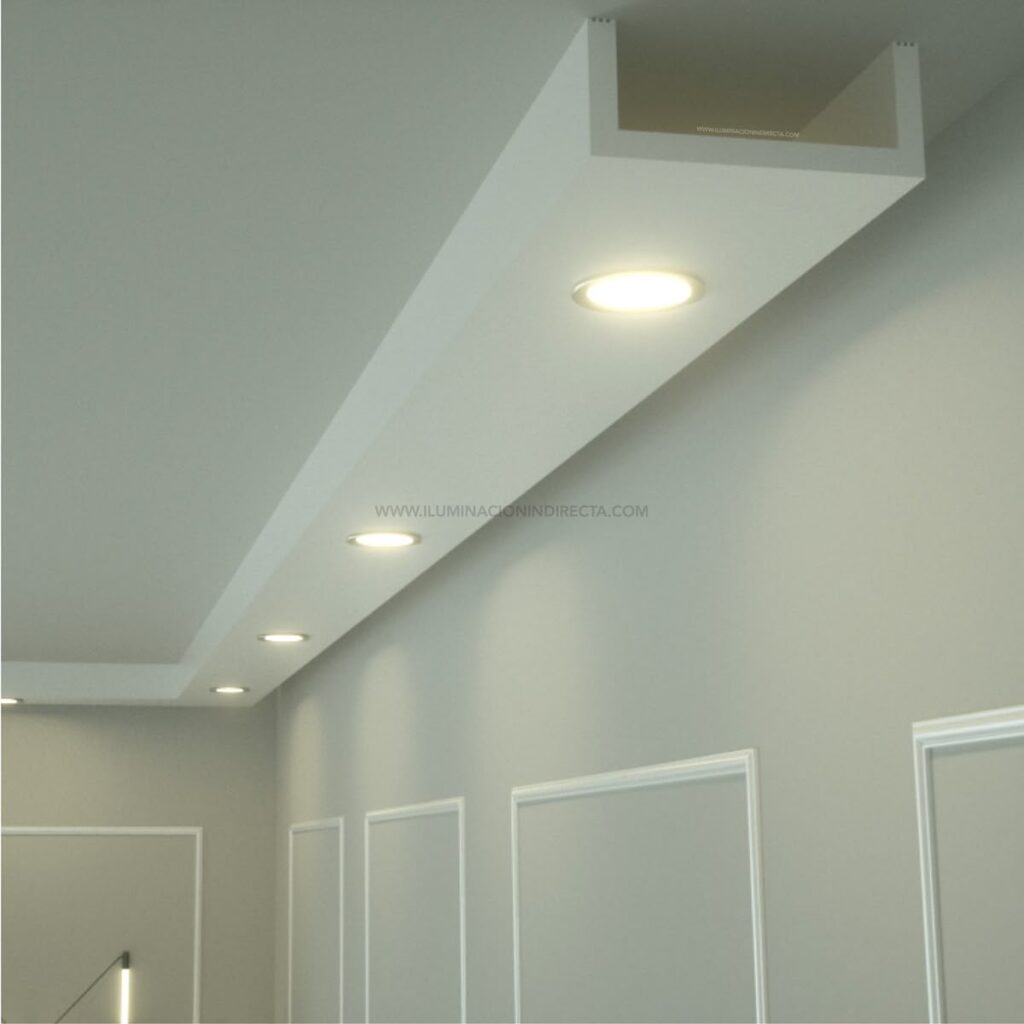
Choosing the Right Fixture
In Miami, light fixtures come in a variety of styles, from modern to tropical. Here are a few factors to consider when choosing:
1. Style and Design
The style of your light fixture should complement the overall theme of your home. For example:
- Modern fixtures: Sleek designs with clean lines.
- Industrial fixtures: Often made of metal with an urban edge.
- Tropical fixtures: Incorporate natural materials and vibrant colors.
2. Size and Scale
Don’t forget about the scale of your fixture! A large chandelier may be stunning, but it could overpower a small dining room. Conversely, a tiny pendant light might get lost in a spacious foyer. Measure your space before making a purchase.
3. Energy Efficiency
In today’s eco-conscious world, opting for energy-efficient lighting solutions is not just smart; it’s essential. Look for LED fixtures, which consume less energy and last longer than traditional bulbs.
Preparing for Installation
Now that you’ve chosen the perfect fixture, it’s time to prepare for the installation process. Here are some practical tips to get you started:
1. Gather Your Tools
Before starting the installation, make sure you have the necessary tools on hand. You might need:
- Screwdriver
- Wire stripper
- Voltage tester
- Step ladder
2. Safety First
Always prioritize safety! Turn off the power at the circuit breaker to avoid any electrical hazards. Use a voltage tester to double-check that the wires are not live.
3. Read the Instructions
Each light fixture comes with its own set of installation instructions. Take the time to read through them carefully before beginning the process. This can save you a lot of hassle down the road!
The Installation Process
Now for the fun part! Here’s a step-by-step guide to installing your new light fixture:
1. Remove the Old Fixture
If you’re replacing an existing fixture, start by removing it. Carefully unscrew the old fixture and disconnect the wires. Make sure to take note of how the wiring was connected, as you’ll need to replicate this with the new fixture.
2. Connect the Wires
Most fixtures will have three wires: a black (or red) wire for the hot connection, a white wire for the neutral, and a green or bare wire for ground. Connect these wires accordingly:
- Black to Black
- White to White
- Green/Bare to Ground
3. Secure the Fixture
Once the wires are connected, carefully tuck them back into the junction box. Secure the fixture to the ceiling according to the manufacturer’s instructions. This usually involves screwing the fixture onto a mounting bracket.
4. Turn the Power Back On
After everything is securely in place, turn the power back on at the circuit breaker. Test your new light fixture to ensure everything is working correctly.
Post-Installation Tips
After a successful installation, there are a few more things to keep in mind:
1. Regular Maintenance
To keep your fixtures looking their best, regular cleaning is essential. Dust and dirt can accumulate quickly, especially in a humid environment like Miami!
2. Changing Bulbs
When it comes time to replace bulbs, consider the type of light you want. Soft white bulbs create a warm atmosphere, while daylight bulbs offer a brighter, more energetic feel.
3. Explore Smart Lighting Options
As technology evolves, so do lighting options. Consider smart bulbs or fixtures that can be controlled via your smartphone or smart home system for added convenience.
Frequently Asked Questions
What is the average cost of light fixture installation in Miami?
The cost can vary depending on the complexity of the installation and the type of fixture you choose. On average, homeowners can expect to pay between $100 to $500.
Can I install a light fixture myself?
If you have basic electrical knowledge and feel comfortable working with wiring, you can install a light fixture yourself. However, hiring a professional is recommended for more complicated installations.
How long does it take to install a light fixture?
Most light fixture installations can be completed within one to two hours, depending on the complexity and your experience level.
Do I need a permit for light fixture installation in Miami?
In most cases, a permit is not required for replacing light fixtures. However, if you’re doing extensive electrical work, it’s best to check with local regulations.
With the right preparation and a bit of elbow grease, installing light fixtures can be a rewarding experience. Remember, lighting not only serves a practical purpose but also adds character and charm to your space. Happy lighting!