
Living in Miami comes with its own unique set of challenges, especially when it comes to maintaining your home. One of those challenges is the inevitable wear and tear on your grout and sealant. Whether it’s in your kitchen, bathroom, or outdoor spaces, grout and sealant repair in Miami is essential for keeping your home looking sharp and functioning well. Trust me, I know firsthand how important it is to keep these areas in tip-top shape.
Understanding Grout and Sealant
Before diving into the nitty-gritty of repair, let’s clarify what grout and sealant actually are. Grout is the material used to fill the gaps between tiles, while sealant is applied to help protect surfaces from water damage and stains. Over time, both can deteriorate due to moisture, heat, and general wear and tear. So, if you’re noticing cracks, discoloration, or even mold, it might be time to take action.
Signs That You Need Grout and Sealant Repair
- Cracks in your grout: This can lead to larger issues if not addressed promptly.
- Discoloration: Stains can indicate that the sealant is no longer effective.
- Mold growth: If you see black spots, it’s a sign that moisture is getting into the cracks.
- Water damage: If you notice water seeping through walls or floors, your grout may no longer be doing its job.
The Repair Process
Now that we’ve identified the signs, let’s talk about the actual repair process. It may sound daunting, but with the right approach, it can be manageable. Here’s a step-by-step guide to help you tackle grout and sealant repair in your Miami home.
Step 1: Gather Your Supplies
Before you start, make sure you have everything you need. You’ll typically require:
- Grout: Choose a color that matches your existing tile.
- Sealant: A high-quality sealant will protect your grout and tiles.
- Tools: A grout float, a utility knife, and a sponge are crucial for this task.
- Cleaning solution: To prep the area before repairs.
Step 2: Clean the Area
Cleaning is a vital part of the process. A dirty surface can hinder adhesion, so make sure to scrub the tiles and grout lines with a suitable cleaning solution. Allow the area to dry completely before moving on.
Step 3: Remove Damaged Grout
Using a utility knife, carefully scrape out the damaged grout. Be cautious not to scratch your tiles. This step is essential because new grout won’t adhere well to old, cracked grout.
Step 4: Apply New Grout
Now comes the fun part! Mix your grout according to the package instructions. Use a grout float to spread it into the gaps between the tiles. Make sure to press it firmly to fill the voids completely. Wipe off any excess grout with a damp sponge before it dries.
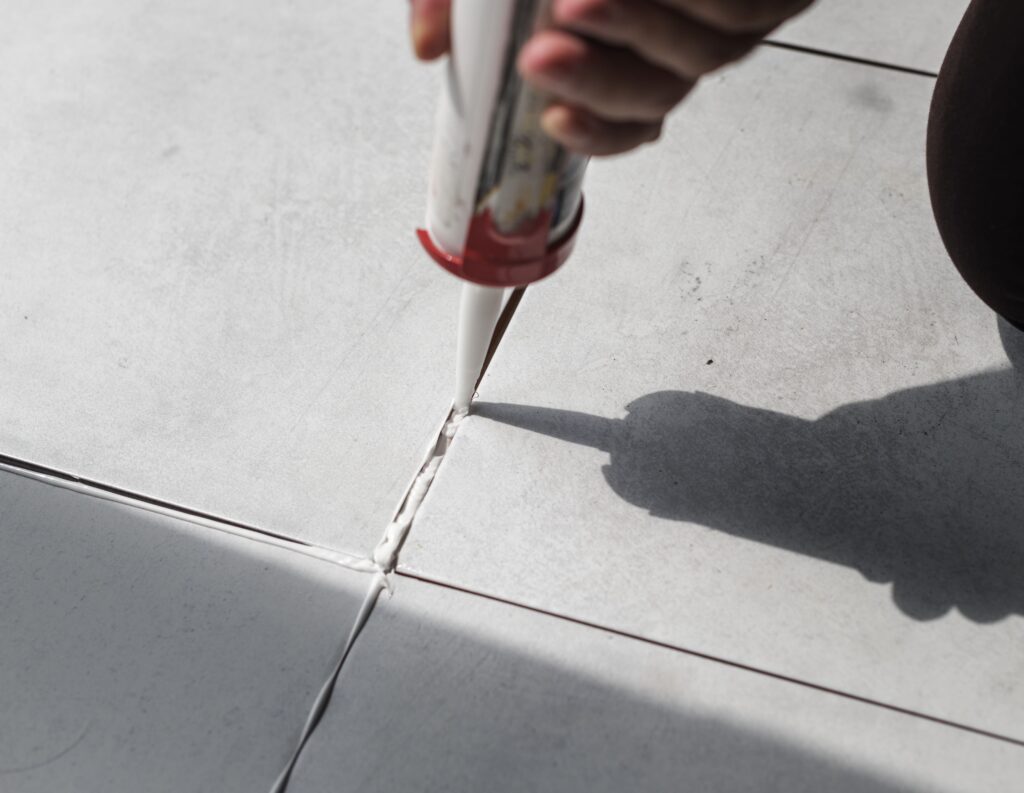
Step 5: Seal the Grout
Once the grout has cured, it’s time to apply sealant. This step is crucial for protecting your newly repaired grout from moisture and stains. Apply the sealant carefully, following the manufacturer’s instructions.
Why It’s Important to Repair Grout and Sealant
You might be wondering, “Is it really that important to repair grout and sealant?” The answer is a resounding yes! Here are a few reasons why:
- Prevent Water Damage: Damaged grout can allow water to seep into the underlying structures, leading to costly repairs.
- Maintain Aesthetics: Fresh grout and sealant can dramatically improve the appearance of your tiles.
- Improve Hygiene: Mold and mildew thrive in damp conditions, so a proper seal helps keep your living spaces healthy.
Hiring a Professional vs. DIY
While many homeowners may feel confident tackling grout and sealant repair themselves, it’s also wise to consider hiring a professional. Here are some factors to weigh:
- Experience: Professionals have the training and tools to get the job done right.
- Time: If you’re busy, hiring someone can save you valuable time.
- Quality Assurance: A professional will ensure that the job is done to a high standard, giving you peace of mind.
When to Call a Handyman
If you find yourself overwhelmed or simply don’t have the time, it’s best to call a handyman. They can assess the situation and provide the necessary repairs efficiently. Plus, they can often spot other issues that you may have missed.
Frequently Asked Questions
How often should I seal my grout?
It’s recommended to seal your grout at least once a year, but high-traffic areas may require more frequent sealing.
Can I use bleach to clean my grout?
While bleach can be effective for cleaning, it may weaken the grout over time. It’s best to use a pH-balanced cleaner specifically designed for grout.
What happens if I don’t repair my grout?
If left unrepaired, damaged grout can lead to water damage, mold growth, and ultimately higher repair costs.
Is grout repair expensive?
The cost of grout repair can vary based on the extent of the damage and whether you hire a professional. However, addressing it early can save you money in the long run.
In conclusion, grout and sealant repair in Miami is not just a cosmetic fix but a necessary step in maintaining your home. Whether you decide to tackle the job yourself or hire a professional, taking action is crucial to ensure your living space remains safe and beautiful.