When it comes to home maintenance, one of the most common tasks that homeowners face is handling minor drywall repairs. If you’ve ever noticed a small hole or a dent in your walls, you might have found yourself wondering how to address it without hiring a professional. Fortunately, with a bit of guidance and some basic tools, anyone can tackle these minor drywall repairs. In this article, I will walk you through the essential steps and provide helpful tips to make the process as smooth as possible.
Understanding the Basics of Drywall Repair
Before diving into the repair process, it’s important to understand what drywall is and how it functions in your home. Drywall, also known as gypsum board or wallboard, is composed of a core of gypsum sandwiched between two sheets of heavy paper. It provides a smooth surface for painting and is crucial for insulation and fire resistance. Minor damages can occur due to various reasons, such as accidental impacts, water damage, or even just wear and tear over time.
Common Types of Minor Drywall Damage
- Small Holes: These can be caused by nails, screws, or even small impacts.
- Dents: Often the result of furniture bumps or accidental knocks.
- Cracks: These can develop from settling or temperature changes.
- Water Damage: Stains or soft spots from leaks or humidity.
Gathering Your Tools and Materials
Before starting any minor drywall repairs, ensure that you have the right tools and materials at hand. Here’s a quick list of what you’ll need:
- Utility Knife: For cutting drywall and scraping off damaged areas.
- Putty Knife: Useful for applying joint compound smoothly.
- Joint Compound: This is the material used to fill holes and smooth surfaces.
- Sandpaper: Fine-grit sandpaper is ideal for smoothing the repair area.
- Priming and Painting Supplies: To finish the job and match the repair to the surrounding wall.
Steps to Handle Minor Drywall Repairs
Now that you’re equipped with the right tools, let’s get into the step-by-step process of handling minor drywall repairs:
Step 1: Clean the Area
Begin by cleaning the area around the damage. Remove any loose debris or peeling paint. A clean surface will ensure that the joint compound adheres properly.
Step 2: Prepare the Hole or Crack
If you’re dealing with a small hole, use your utility knife to widen it slightly. This may seem counterintuitive, but it creates a clean edge for the joint compound to grip onto. For cracks, simply extend the crack slightly with your knife to create a V-shape.
Step 3: Apply Joint Compound
Using your putty knife, scoop out some joint compound and apply it to the damaged area. For holes, press the compound firmly into the hole, ensuring it fills completely. For cracks, spread the compound along the length of the crack, smoothing it out as you go.
Step 4: Let It Dry
Allow the joint compound to dry completely, which usually takes about 24 hours. It’s crucial to resist the temptation to rush this step, as applying additional layers too soon can lead to uneven surfaces.
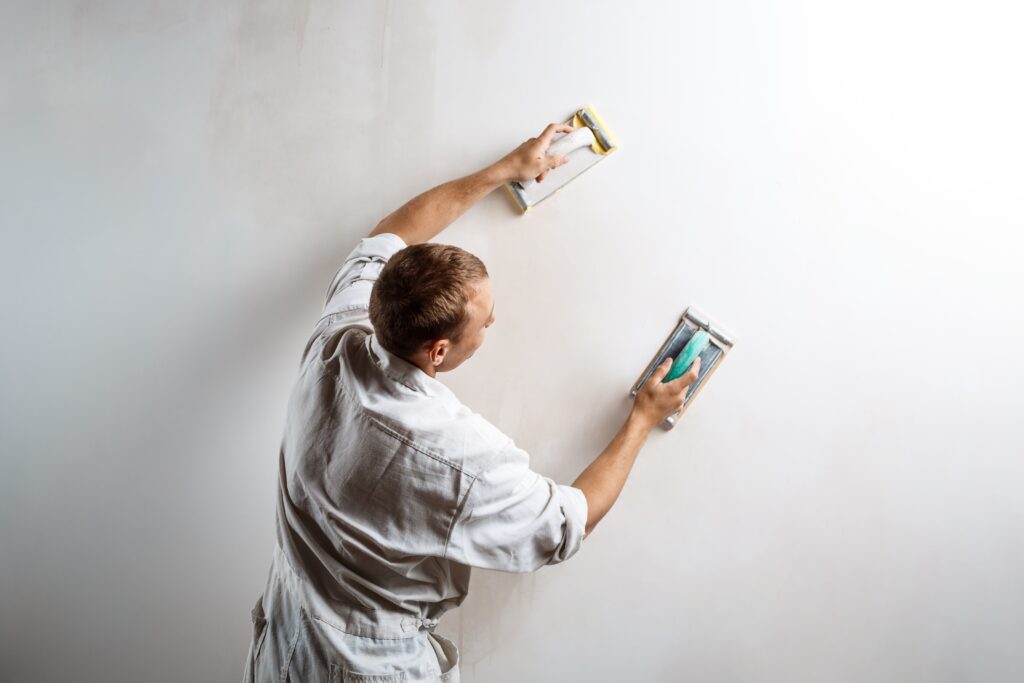
Step 5: Sand the Surface
Once dry, use fine-grit sandpaper to smooth the repaired area. Sanding should be done gently to avoid damaging the surrounding drywall. The goal is to create a seamless transition between the repair and the existing wall.
Step 6: Prime and Paint
After sanding, wipe the area with a damp cloth to remove dust. Apply a coat of primer to the repaired area to ensure even paint coverage. Once the primer is dry, you can paint over it to match the rest of your wall.
Tips for a Successful Drywall Repair
Here are some additional tips to ensure your minor drywall repairs turn out perfectly:
- Take Your Time: Rushing through repairs can lead to unsatisfactory results.
- Use a Good Quality Joint Compound: Investing in high-quality materials often pays off in the long run.
- Don’t Skip Priming: Priming helps the paint adhere better and prevents future peeling.
- Match the Paint: If you have leftover paint from when you originally painted the wall, use that for the best match.
Frequently Asked Questions
How long does joint compound take to dry?
The drying time can vary depending on factors like humidity and temperature, but it typically takes about 24 hours. Always check the product instructions for specific guidance.
Can I repair drywall without painting?
While it’s possible to leave the repair unpainted, it’s highly recommended to paint over the repaired area for a consistent look and added protection.
What if the damage is larger than a small hole?
For larger damages, such as significant holes or water damage, it may be necessary to replace the entire section of drywall. In such cases, it’s advisable to consult with a professional.
Is it normal for drywall to crack?
Yes, minor cracking can occur due to settling, temperature changes, or humidity. Keeping an eye on these cracks and addressing them promptly can help prevent more significant issues.
Handling minor drywall repairs can be a straightforward task with the right tools and instructions. By following the steps outlined above, you can restore your walls to their former glory, ensuring your home remains a welcoming and polished space. Remember, while these repairs might seem daunting at first, with a little patience and practice, you’ll soon find yourself mastering the art of drywall repair!